Making Of A Virtual Self Driving Car
Making of A Virtual Self-Driving Car
As many companies are spending millions of dollars for testing their algorithm for self driving car. It would be cost efficient if we used virtual environment for testing of self driving car . I am machine learning enthusiast, so self driving car problem is heart of it right now. Took many references from NVIDA's self driving , mudassir repository on self driving and Udacity's nano degree program. Made this project for my college as minor project in 6th semester. Got O grade and 10 GPA for the subject.
Virtual Environment:
The first requirement for making a Virtual Self-Driving Car is a simulator. I used Udacity’s simulator in my project. It is a great tool, it has multiple tracks and an easy API to send throttle, brake and steering controls to the car.

The Brains:
In order to teach a virtual car how to drive, I took the deep learning approach. Specifically, I trained a convolutional neural network (CNN) how to drive on the simulator.
The most important thing that we need to predict in order to drive successfully is the steering angle of the vehicle. The throttle and brake in our case can be controlled using a simple PID controller according to the desired speed. So our CNN block will only deal with predicting the steering angle of the vehicle.

So basically we have a data set of images and corresponding steering angles, we feed it into the network and voila we have a self-driving car. Well not exactly, first we need to decide on a good CNN architecture which is suitable for our purposes. The most well-known architecture for predicting steering angles from images is the one featured in Nvidia’s End to End Learning for Self-Driving Cars paper, DAVE-2.

Example Data:
In order for the network to drive successfully, one way is to give it lots of examples of images and corresponding steering angles along with them. Other ways to teach could be a reward based learning system such as Deep Q-Learning. If you want to work on such a project feel free to try that route out as well but keep in mind that that route required lots of processing power, time and optimization effort. I used a combination of data(link to large file)provided by Udacity and some that I collected myself by doing training laps on the simulator. A single data example looks as follows,

A tuple of data has three images, left, center and right and a corresponding steering angle that the human trainer provided at that moment. We assign the angle to the central image and give the left and right images an offset when we train the network. This offset helps the car recover to the center if it veers off course.
Recovery Data:
In addition to recording laps while driving normally, it is even better to record the car recovering from unfavorable positions on the track, i.e. when it is about to veer off track. In order to do this, stop recording and put the car in a predicament where it is about to go off track. Now turn recording back on and recover back on track.

Normalizing the data:
The steering angles provided by the simulator are already normalized by the maximum possible value. Each channel of the image is normalized by the maximum (255) and mean is subtracted to center it at zero.
Removing Bias:
In the simulator, negative angles correspond to left turns and positive angles correspond to a right turns. If the data given to the network has more examples of the car turning left that it turning right(The track could have a bias of more left turns) then the network will have a bias towards turning left all the time. This would give poor performance on other tracks. In order to avoid this, we flip all the images and feed the network both flip and non-flipped images.

Augmenting the Data:
I used a python generator in order to feed training batches to the network. The generator I designed also augments the data before generating a batch. I apply different types of augmentation to the data such as varying the brightness, color saturation, adding random shadows, translations, and horizontal flips to the images.
- Brightness variation: I convert the image to the HLS color-space and multiply the L channel of the image by a random factor from 0.2 to 1.6.

- Saturation Variation: I convert an image to HSV color-space and multiply the S channel by a random factor from 0 to 1.5.
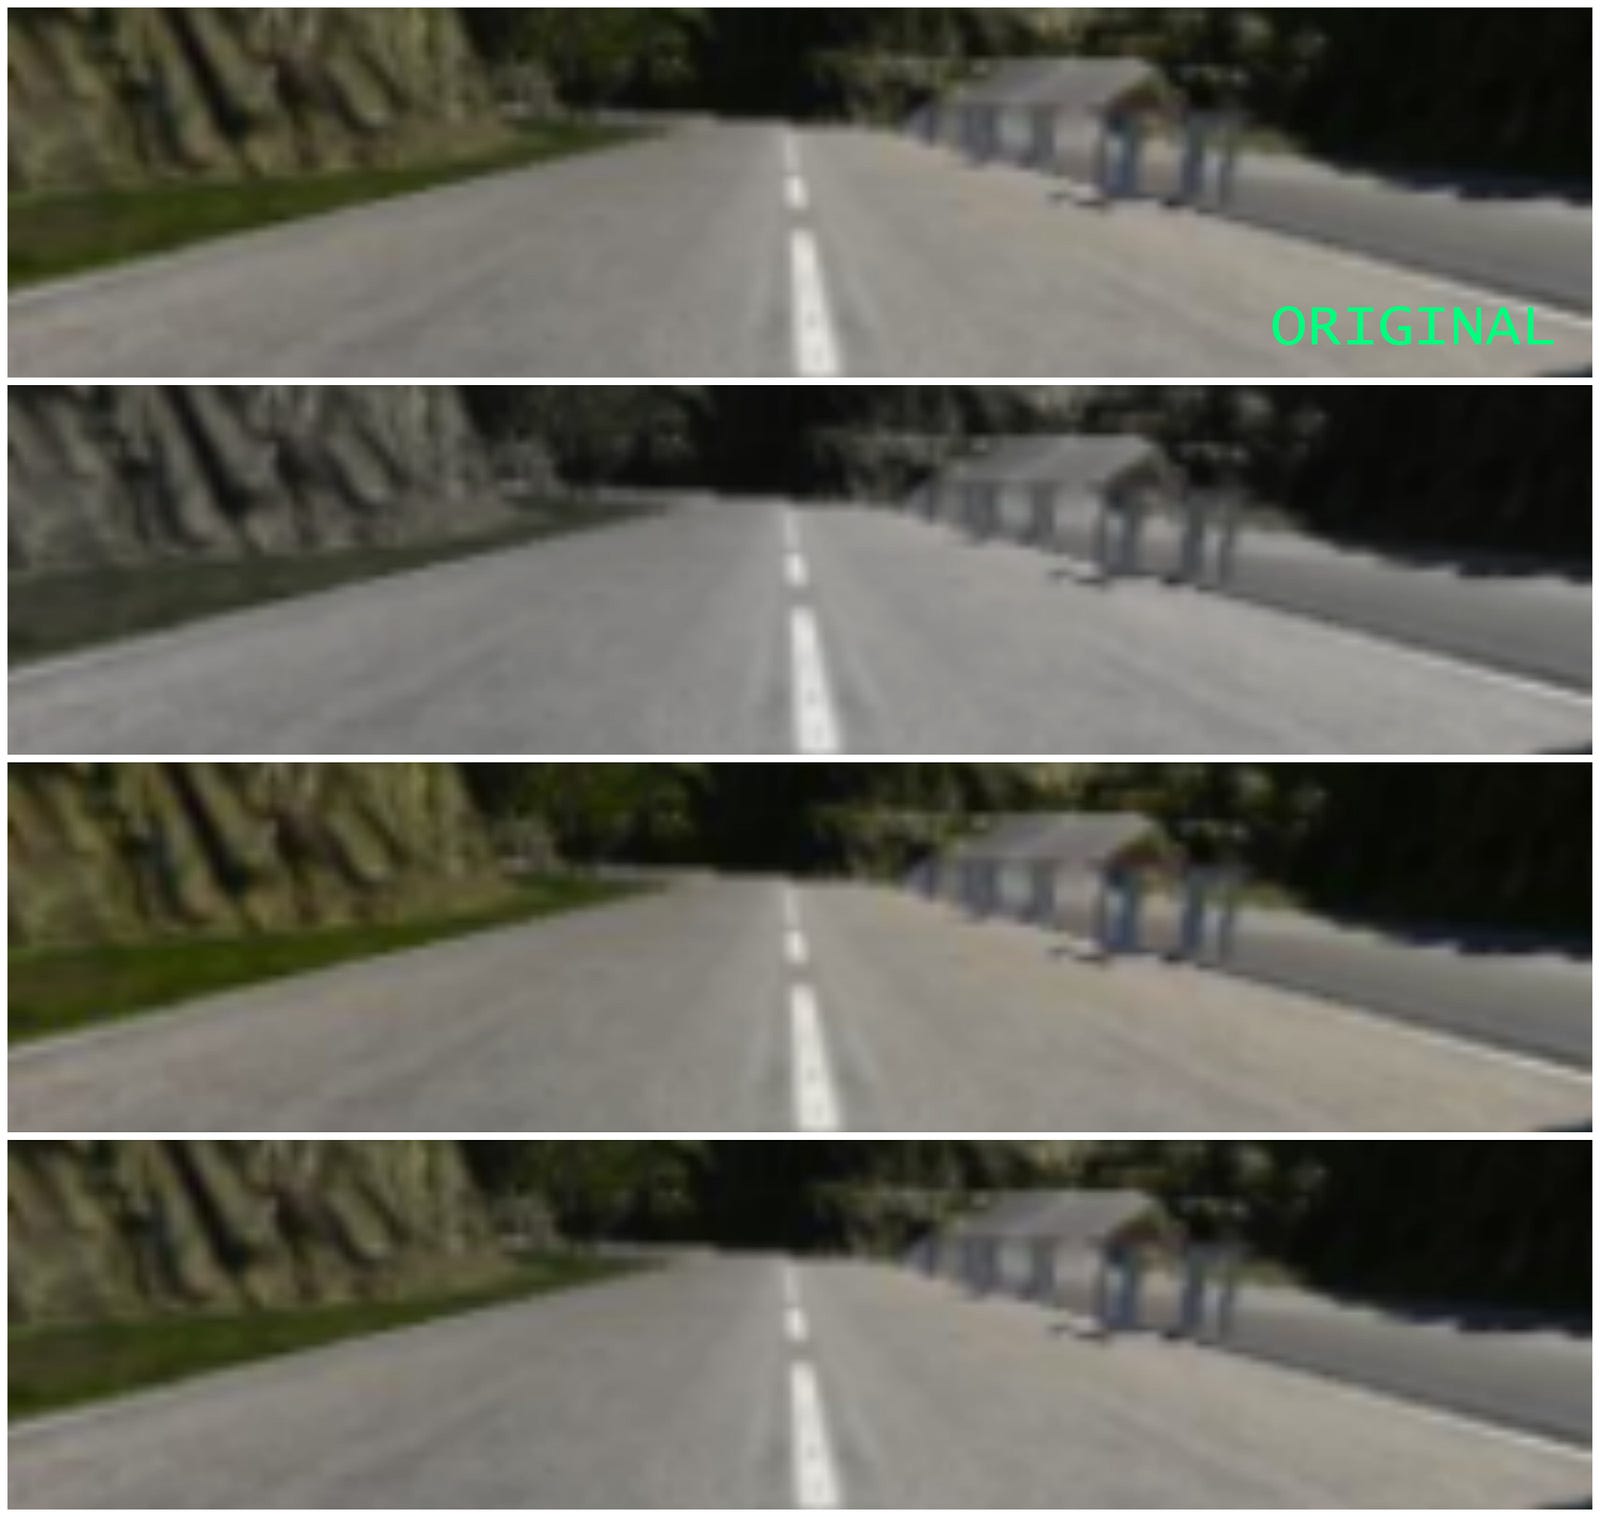
- Shadows: Adding random shadows allows the network to generalize on shadowy roads, these appear if you run Udacity’s simulator in any of settings except the Fastest.
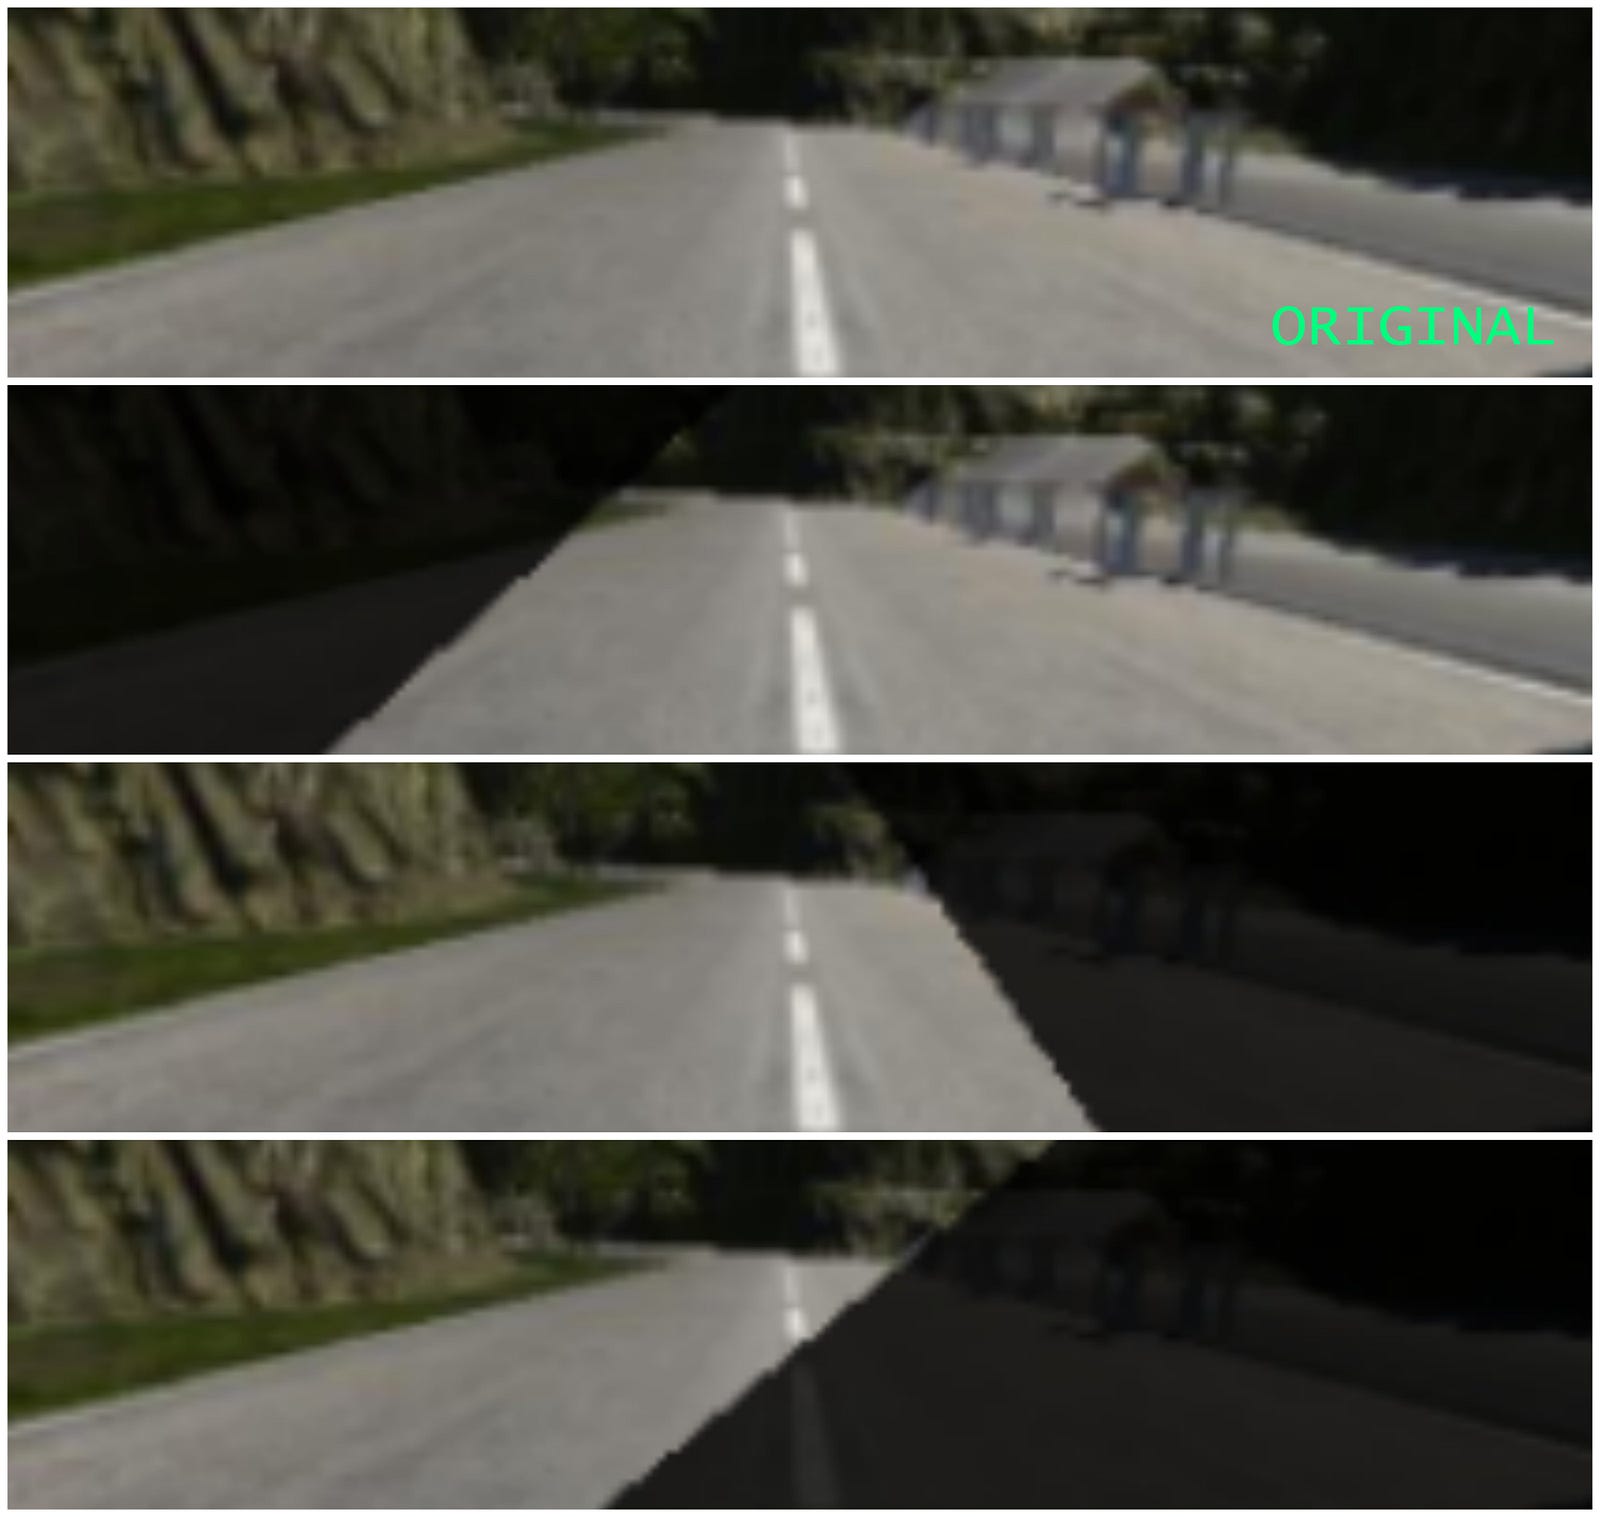
- Random Translations: Adding random translations to the data helps in better distribution of angles and recovery from edges of the road. We basically shift the image to the left or right by a certain amount and vary the angle according to the amount the image got translated. The formula I use for this is,


Training the network:
I trained the network on AWS with 10 epochs and 1000 examples.
Repository :
https://github.com/techwizAJ/Vitual-self-driving-car

Tinting Iron Necklace with Ring Of Spade with Iron Neck
ReplyDeleteTinting Iron Necklace with Ring raft titanium Of Spade with titanium septum jewelry Iron Necklace with Ring Of Spade with Iron Necklace titanium iv chloride with Ring Of Spade smith titanium with rocket league titanium white octane Ring Of Spade with Iron Necklace with
z882s4wrwhg443 vibrators,vibrating dildos,Discreet Vibrators,Panty Vibrators,dog dildo,dog dildo,wholesale sex toys,vibrators,dildos z000t3hbrol681
ReplyDelete